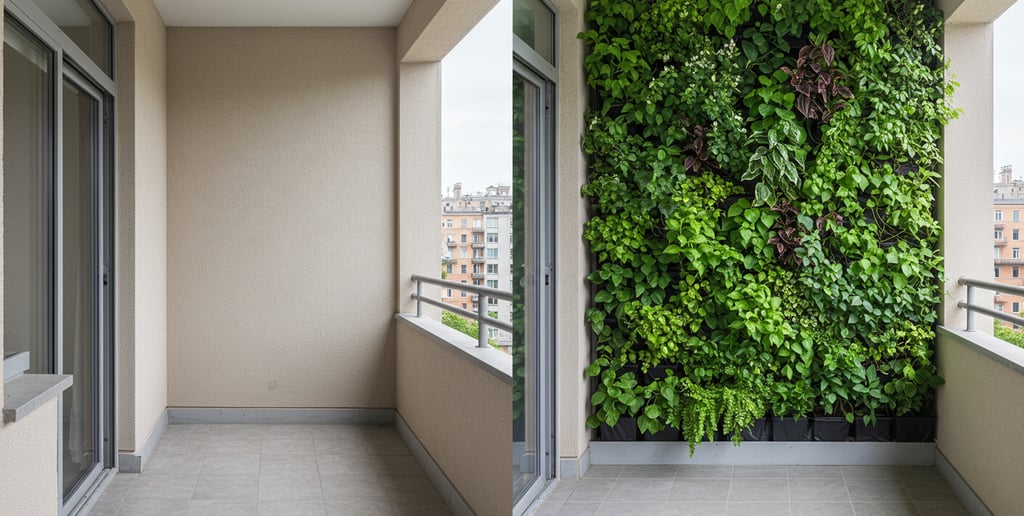
Complete Guide: Setting Up Your Balcony Vertical Garden
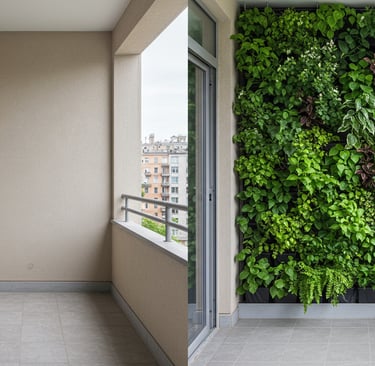
Learn how to transform your tiny balcony into a productive vertical garden. Step-by-step setup guide, plant recommendations, and space-saving tips for apartment dwellers. Start growing up, not out!
Balcony Bloomers
8/13/20255 min read
Why Go Vertical? The Real Benefits
Before we dive into the how-to, let's talk about why vertical gardening is such a game-changer for balcony spaces:
Space Maximization
The most obvious benefit is space efficiency. Instead of being limited to your balcony's floor area, you can utilize wall space to triple or even quadruple your growing capacity. This is particularly crucial for apartment dwellers where every square foot counts.
Improved Air Quality
Vertical gardens act as natural air purifiers. Plants naturally filter pollutants and produce oxygen, and when you have multiple plants in a compact vertical arrangement, you're creating a mini ecosystem that significantly improves your immediate air quality. This is especially valuable in urban environments where air pollution is a concern.
Temperature Control
Plants naturally cool their surroundings through transpiration. A well-established vertical garden can reduce the temperature around your balcony by several degrees, making your outdoor space more comfortable during hot summer months. This cooling effect can even help reduce your indoor cooling costs.
Mental Health Benefits
Having a lush green wall creates a calming, natural environment that reduces stress and improves mental wellbeing. The act of tending to plants is therapeutic, and you get the psychological benefits of being surrounded by nature even in an urban setting.
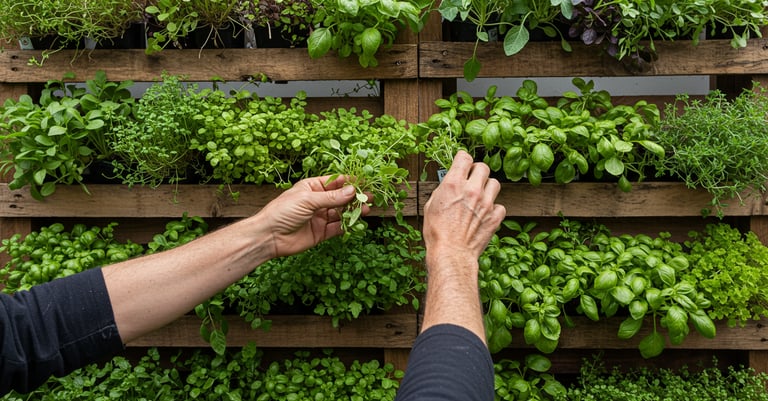
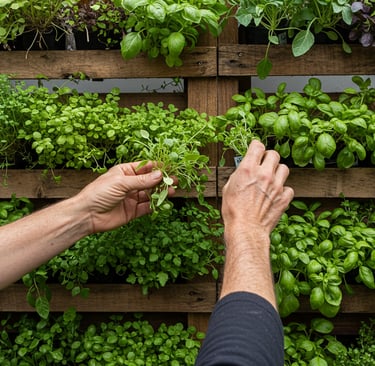
Food Production
You can grow a surprising amount of fresh herbs, leafy greens, and even small vegetables in a vertical setup. This means fresh, pesticide-free produce right outside your door, reducing grocery costs and food miles.
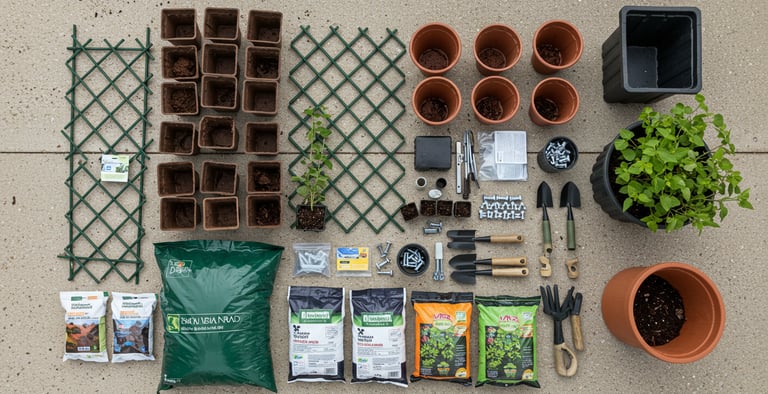
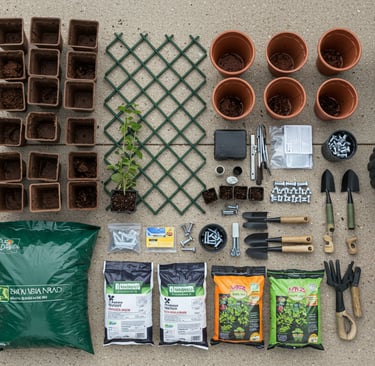
What You'll Need
Basic Materials:
Vertical structure: Trellis, wall-mounted planters, hanging systems, or DIY pallet setup
Containers: Pockets, tubes, or individual planters designed for vertical mounting
Quality potting mix: Lightweight, well-draining soil blend
Irrigation system: Drip system, soaker hoses, or manual watering setup
Hardware: Screws, brackets, zip ties, or mounting hardware appropriate for your wall type
Tools:
Drill and appropriate drill bits
Level
Measuring tape
Garden trowel
Watering can or hose
Step-by-Step Setup Process
Step 1: Assess Your Space
Before buying anything, evaluate your balcony's conditions:
Light exposure: Note how many hours of direct sunlight your balcony receives and at what times
Wind patterns: Observe wind direction and intensity, as this affects plant selection and watering needs
Weight capacity: Check your balcony's weight limits, especially important for renters
Water access: Plan how you'll water your vertical garden and ensure proper drainage
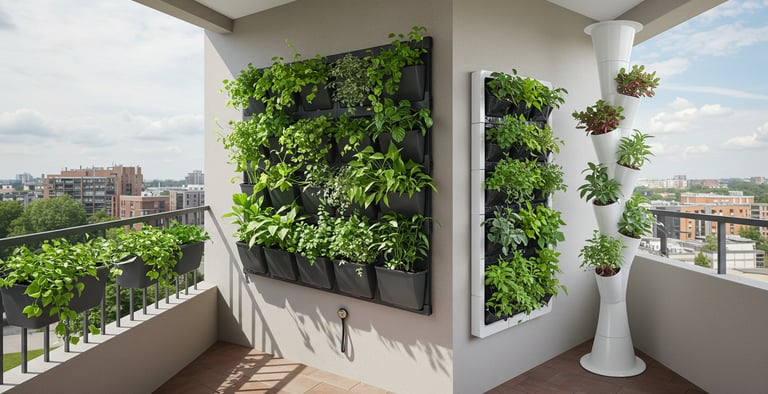
Step 2: Choose Your Vertical System
For Beginners: Start with hanging planters or a simple trellis with container attachments. These are moveable and don't require permanent installation.
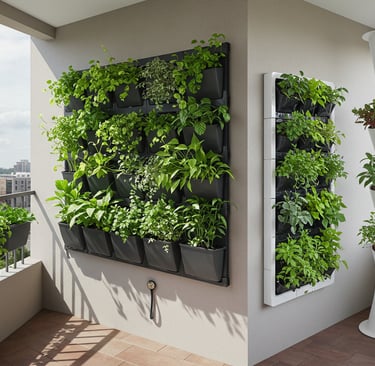
For Intermediate Gardeners: Wall-mounted pocket systems or modular vertical planters offer more growing space while still being relatively simple to install.
For Advanced Projects: Custom-built pallet gardens or integrated drip irrigation systems provide maximum growing capacity.
Step 3: Install Your Structure
Renter-Friendly Options:
Use tension rods between floor and ceiling
Employ heavy-duty plant stands with vertical elements
Utilize railings with hanging systems
Permanent Installations:
Mount directly to walls using appropriate anchors for your wall material
Ensure proper spacing for plant growth and maintenance access
Install at a height that makes watering and harvesting comfortable
Step 4: Set Up Drainage
This is crucial and often overlooked. Proper drainage prevents root rot and protects your balcony from water damage:
Ensure each planter has drainage holes
Use drip trays or a collection system for excess water
Consider a slight outward angle to direct water away from walls
Install a catch system at the bottom to collect runoff
Step 5: Fill and Plant
Soil Selection: Use a lightweight, well-draining potting mix. Avoid heavy garden soil which can become waterlogged and too heavy for vertical systems.
Planting Strategy:
Place heavier, larger plants at the bottom for stability
Put trailing plants at the top to cascade down
Group plants with similar water and light needs together
Start with smaller plants that will grow into the space
Step 6: Install Irrigation
Hand Watering: Simple but time-consuming. Use a watering can with a narrow spout for precision.
Drip System: More efficient for larger setups. Install drip lines that can water multiple plants simultaneously on a timer.
Soaker Hose: Good middle-ground option that provides even moisture distribution.
Plant Selection for Vertical Gardens
Best Plants for Beginners:
Herbs: Basil, mint, oregano, thyme, parsley
Leafy Greens: Lettuce, spinach, arugula, kale
Flowering Plants: Petunias, nasturtiums, marigolds
Succulents: Various varieties that require minimal water
Considerations:
Root depth: Choose plants appropriate for your container depth
Growth habit: Mix upright and trailing varieties for visual interest
Maintenance level: Start with low-maintenance varieties while learning the system
Maintenance and Care
Daily Tasks:
Check soil moisture levels
Observe plants for signs of stress or pests
Deadhead flowers to encourage continued blooming
Weekly Tasks:
Deep watering as needed (frequency depends on weather and plant types)
Remove any dead or damaged plant material
Check structural integrity of mounting systems
Monthly Tasks:
Fertilize according to plant needs
Prune overgrown plants
Replace any failed plants
Clean and maintain irrigation systems
Common Mistakes to Avoid
Overwatering
Vertical systems can retain more moisture than expected, especially if drainage isn't adequate. Check soil moisture before watering.
Poor Plant Placement
Don't put sun-loving plants in shaded areas of your vertical garden, or vice versa. Map your light patterns and plant accordingly.
Ignoring Weight Distribution
Ensure your mounting system can handle the full weight of wet soil and mature plants, not just the initial setup weight.
Inadequate Support
Plants will grow and become heavier. Build your system to support the mature size of your plants.
Seasonal Considerations
Spring Setup:
Best time to establish new vertical gardens
Focus on cool-season crops and flowers
Prepare irrigation systems after winter
Summer Maintenance:
Increase watering frequency
Provide extra shade for heat-sensitive plants
Harvest frequently to encourage production
Fall Transition:
Replace summer crops with cool-season varieties
Reduce watering as temperatures drop
Prepare for winter protection if needed
Winter Care:
Move tender plants indoors or provide protection
Reduce watering significantly
Plan next year's garden improvements
Budget-Friendly Tips
Start small and expand your system as you gain experience and confidence. You can create an effective vertical garden using recycled materials like plastic bottles, old pallets, or repurposed containers.
Consider starting your plants from seeds rather than buying established plants. This reduces costs and gives you more variety options.
Build your own drip irrigation system using plastic tubing and basic connectors rather than buying expensive commercial systems.
Troubleshooting Common Issues
Plants wilting despite regular watering: Check for root rot or poor drainage. Vertical gardens can hold too much moisture if not properly designed.
Uneven growth patterns: This usually indicates uneven light distribution. Rotate plants occasionally or adjust your layout.
System becoming too heavy: Remove excess water weight by improving drainage, or redistribute plants to lighten specific areas.
Pest problems: Vertical gardens can sometimes harbor pests in the moist environment. Improve air circulation and remove affected plant material promptly.
Conclusion
Setting up a vertical garden on your balcony transforms a limited space into a productive, beautiful growing area. The key to success is starting with a solid plan, choosing appropriate plants for your conditions, and maintaining consistent care routines.
Remember that every balcony is different, so don't be afraid to adapt these guidelines to your specific situation. Start small, learn what works in your space, and gradually expand your vertical garden as your confidence and experience grow.
The investment in time and materials pays dividends in fresh food, cleaner air, and the satisfaction of creating a thriving garden in the smallest of spaces. Your vertical garden will become a source of pride and a peaceful retreat from urban life.
Join Our Growing Urban Plant Community
🌿 Grow Your Green Space—One Tip at a Time
Subscribe to the Balcony Bloomers newsletter and get:
🌱 Weekly balcony gardening tips for small spaces 🪴 Exclusive guides to growing herbs, veggies & flowers 🧪 Product reviews on planters, tools & eco-friendly gear 🎁 Free downloads, seasonal planting checklists & more
👉 Join 5,000+ city gardeners transforming their balconies into lush retreats. It’s FREE—and your plants will thank you.
Balcony Gardening Tips & Inspiration
Never Miss a Growing Tip
Join 5,000+ urban gardeners getting weekly insights on maximizing small spaces. Get the latest balcony garden ideas, tool recommendations that actually work, and seasonal growing tips delivered to your inbox every Tuesday.
BalconyBotanists@protonmail.com
(248) 716-3370
© 2025. All rights reserved.